Maps
Create maps
There are two ways to create a new map:
- Click a Create map button in the upper right corner. If there are no maps and folders on the Maps page, then a Create map button is in the center of the screen. Enter the map name in the appeared window (or leave it by default) and press the Create or Enter button.
- Right-click in an empty place (not in the map), select a Create map tab in the appeared context menu. Enter the folder name in the appeared window (or leave it by default) and press the Create or Enter button.
After that, the created map opens in the Map Editor.
You can also create a map using the Dataset context menu. Go to Dataset, right-click Dataset and select the Create map tab in the context menu. In the appeared window, enter the folder name (or leave it by default) and press the Create or Enter button. In this case, the map will be created immediately with the selected dataset.
Map sharing
There are two ways to open sharing settings.
- In Map Editor, click the Publish button in the upper right corner of the screen.
- On the Maps page, right-click the map and select Publish or click the icon with the image of the globe.
To share the map, you need to shift the switch to the ON position, then click the Copy sharing URL button or click the link. After that, it will be copied to the clipboard.
Anyone with a link can view the map, change zoom level, show/hide layers, etc.
If you want to allow other users to copy your map to their accounts, you need to set the checkbox Allow editing and Adding to your maps.
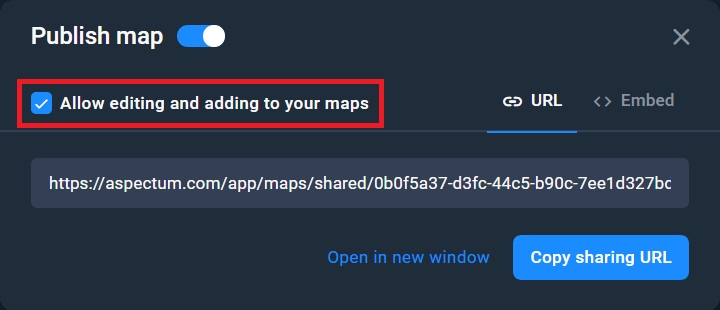
When opening your map, users will see the Add to my maps button.
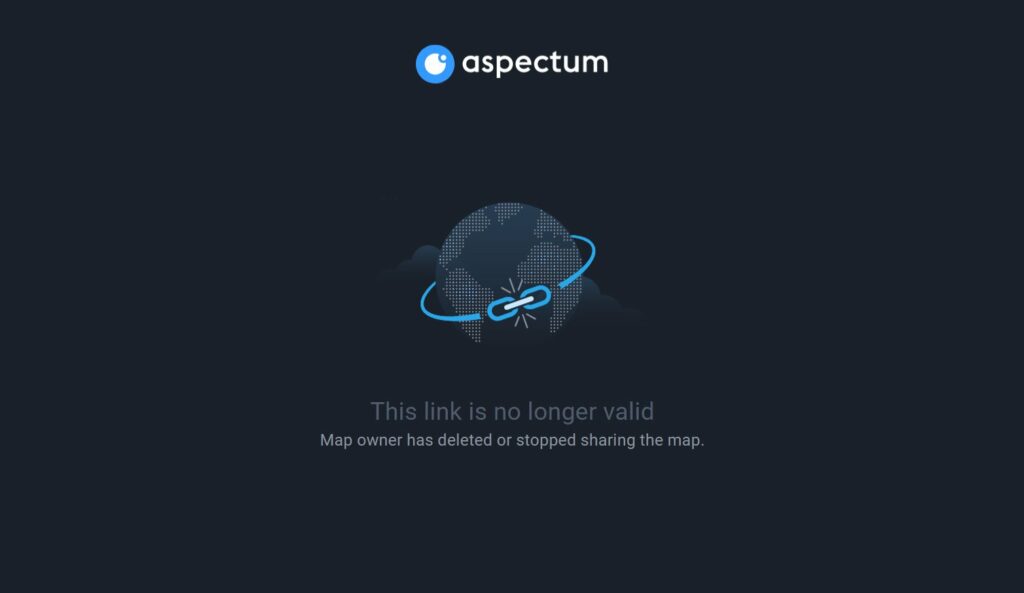
You can stop sharing any time by shifting the switch to the OFF position.
After that, users with a direct link will see the following screen when opening your map.
All shared maps are marked with a blue globe icon and collected in the Public tab.